
Make Shotguns your best friend with our Mad Maggie Guide.
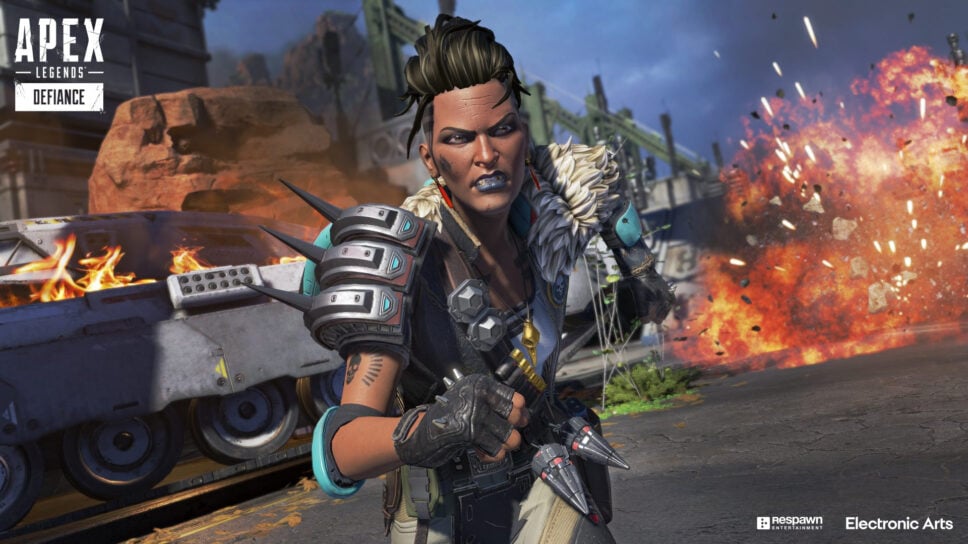
We’ve all complained about going up against Mad Maggie. From her ability to make cover unplayable, to the speed she can close the gap on you a good Maggie player can be devastatingly effective in fights.
However, there is a very high skill ceiling on this legend and lots of practice with shotguns required if you want to truly embrace the power of the Warlord.
Follow our Apex Legends Mad Maggie Guide to master the art of starting a riot.
Apex Legends Mad Maggie Guide: What makes Mad Maggie a good legend?
Mad Maggie is all about aggression. Her abilities are designed to help you get into enemies faces and deal big damage. She is especially suited to Shotgun use, which further encourages you to get up close and personal in your fights.
Strengths:
- Riot Drill can force enemies out from behind cover.
- Mad Maggie moves faster when holding a Shotgun.
- Wrecking Ball is a great tool for chasing down enemies and closing the gap.
Weaknesses:
- If you can’t close the gap Mad Maggie’s abilities are less effective.
- Wrecking Ball can be hard to line up and can bounce back into you.
- Shotguns are not as strong as SMGs.
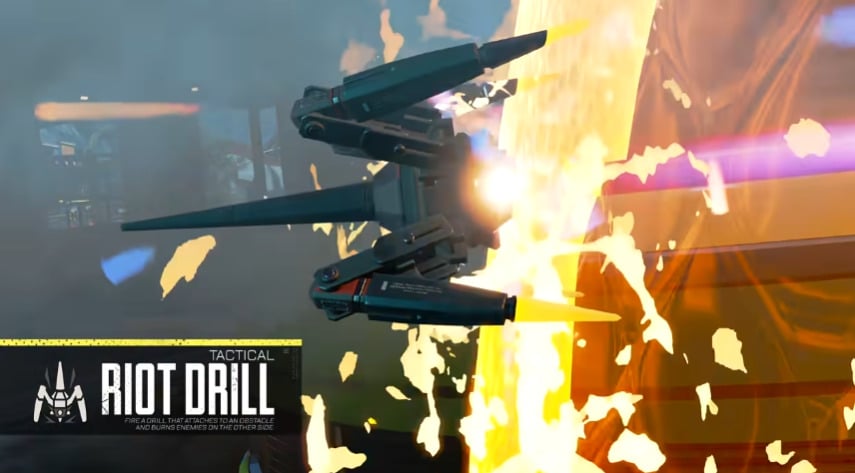
Mad Maggie Tactical:
- Fire a drill that attaches to an obstacle and burns enemies on the other side.
- The drill can reach an opposite surface of a wall/prop up to 13 meters – an indicator on screen will show the detected depth while launching.
- Takes 1 second to activate after attaching, and deals a total of 160 damage over 9 seconds. Deals partial damage to the object it is attached to.
- Flare length is 5 meters, and it is not blocked by obstacles.
The Riot Drill is one of the most annoying abilities in Apex Legends. You can force enemies out from cover, reduce the space they have to play and generally just be a menace with this drill.
Tips for Riot Drill:
Tip #1:
The Riot Drill is extra effective when you’re fighting teams in small buildings. It is an especially great counter to the tactic of holding a door in order to pop a heal. The Drill will both damage the player sat on the door, and also destroy the door allowing you to sprint in and confirm your kill.
Tip #2:
The Riot Drill can also be a great tactic to deny space if you find yourself on the back foot. Throwing a Drill into the doorway or so the fire is blocking off an angle can give you the time you need in order to revive a teammate, heal or grab some extra loot.
Tip #3:
You can use the Drill simultaneously with doing other actions in the game like firing, reloading and healing. So don’t feel like you need to stop your action to get a Riot Drill deployed.
Mad Maggie Passive:
- Temporarily highlight enemies you’ve damaged.
- Move faster with shotguns.
- Damaged enemies’ silhouettes are visible through walls and obstacles for 0.8 second.
- Maggie gains 1.15x speed when walking or running with a shotgun. (The same as holstering a weapon.)
The Warlord’s Ire gives Mad Maggie a little bit of extra speed and awareness in close range fights. The scans don’t last very long but they do help you keep track of your targets immediate movement.

Tips for Warlord’s Ire:
Tip #1:
While the scans only last for 0.8 seconds, you can extend this with burning abilities. Land a Thermite Grenade or catch an enemy in your Riot Drill and they will be scanned the entire time they are taking damage. The 0.8 second timer will only kick in after their last tick of damage.
Tip #2:
It’s pretty self explanatory but Mad Maggie really benefits from using a Shotgun. If you’re a weapon XP grinder, you get XP for how long you’re holding a weapon in your hands during a game. Thanks to Mad Maggie getting the same speed with a Shotgun out than if it is holstered, you can move around holding your Shotgun for no penalty. XP for days!
Mad Maggie Ultimate:
- Throw a ball that releases speed-boosting pads and detonates near enemies.
- When released, the ball bounces off floors, ceilings, and walls.
- While traveling, a speed-boosting pad is released in a zig-zag pattern every 0.8 seconds.
- Stepping on the pads provides a maximum 30% speed boost. (Does not stack with other speed boosts.)
- The speed boost lasts for 3 seconds.
- Boost pads disappear 60 seconds after the ball explodes.
- Can break through doors.
- Will explode after bouncing the maximum amount of times, after 10 seconds, or upon hitting an enemy.
- Deals a maximum of 20 damage in an area and stuns enemies and Maggie within the radius.
The Wrecking Ball is the most flexible part of Mad Maggies kit. It is designed as a super aggressive tool to enable a push, but it can help you move around the map at speed as a rotational tool.

Tips for Wrecking Ball:
Tip #1:
Mad Maggie really is the final boss for people sitting behind Doors! If you don’t want to use your Drill for this and would benefit from the speed boost pads, you can throw your Wrecking Ball at a Door. It will destroy the door, stun and launch the enemy as well as cause general chaos.
Tip #2:
The Wrecking Ball can also be a strong tool for moving around the map. The speed boost can sometimes be make or break when it comes to escaping zone. Just remember if you’re using it to escape, the pads that get laid out can help enemies to track you down (and fast!).
Tip #3:
It’s important to try and consider what objects the Wrecking Ball could bounce off. It stuns and damages Mad Maggie so if it gets returned to sender that can cause a big problem for you. Or, it could just veer off in a totally different direction and become useless. Try and line it up so it can arrive where you want it too.
Apex Legends Mad Maggie Guide: What legends work well with Mad Maggie?
Mad Maggie is undoubtedly suited to an aggressive playstyle. She allows for some rotation and can cause absolute carnage when you’re pushing a team in a building.
Aggressive Playstyles:
The Mad Maggie and Fuse combination is possibly the most annoying in the game. Combining Grenades, Knuckle Clusters, Wrecking Balls and Riot Drills can essentially make any spot on any map impossible to play. That’s without even using your Motherlode!
Both Bangalore and Revenant are just solid legends that suit an aggressive playstyle and therefore play well with Mad Maggie.
Passive Playstyles:
It’s important to note that we really don’t suggest Mad Maggie for a passive playstyle. She is undoubtedly built for pushing not holding. However, there are a couple of decent combinations that can work with her Drill. Both the Newcastle and Gibraltar abilities give you the opportunity to stick your Drill to something. Get the Dome down, pop a drill from the inside and it is even harder to get inside. Of course, Mad Maggie also moves faster with Shotguns which makes her a bubble fight demon.
If you learn to play around her abilities, no one is safe when Mad Maggie is on the prowl. Doors, walls, rocks, you name it, Maggie can make it uninhabitable. Thanks for checking out our Apex Legends Mad Maggie Guide.
Stay tuned to esports.gg for the latest Apex Legends and esports news.