
All the tips, tricks and secrets you need to be the best Conduit in the Outlands.
Conduit has released incredibly strong into Apex Legends. Her healing abilities have shaken up fighting, and teams are even beginning to explore if she will be viable in ALGS.
She is a fun legend, particularly popular in Ranked. A member of the Support class, she lets your team craft expired banners. She has a speed boost, can heal teammates and can deny teams pushing with her Ultimate.
Conduct yourself to the best of your abilities with our Apex Legends Conduit guide.

Apex Legends Conduit Guide: What makes Conduit good?
The strength of Conduit mostly lies in her tactical. She can heal both herself, and her teammates mid fight. This is incredibly strong, and lets you take substantially more damage than your opponents across a fight. While these shields are temporary they last a long time.
Strengths:
- Conduit's health healing abilities is very strong in a fight.
- Speed boost means you can never be left behind by your team.
- Support Class gets you extra healing items, and the ability for your squad to craft expired banners at a Replicator.
Weaknesses:
- Healing takes time to recharge shields.
- It can be difficult or finnicky to heal the teammate you want if they are close together.
- Ultimate can sometimes be a hinderance, thanks to a big hitbox.
Conduit Tactical:
- Send a surge of energy to a teammate and yourself, temporarily regenerating shields when in danger.
- The ability has a range of 50 meters.
This ability has three subtle phases: - Phase 1: Regenerating Shields
- During this phase, damaged and broken shields are reinforced with temporary shields.
- This phase lasts for 8 seconds.
- Each tick, temporary shields are granted so long as the total shield health isn't full.
- While the target's total shield health is full, more temporary shields aren't granted. These wasted hitpoints can't be regained later.
- Over the duration, up to 60 hitpoints to herself worth of temporary shields are granted.
- The temporary shields are granted at a rate roughly equivalent to 7.5 hit points worth of shields per second, or 10 hit points every 1.35 seconds.
- Phase 2: Temporary Shields Hold
- During this phase, any temporary shields that were granted during phase 1 remain, but no new temporary shields are granted.
- This phase lasts for 30 seconds.
- Phase 3: Temporary Shields Decay
- Any remaining temporary shields begin to decay twice as fast as they are gained in Phase 1 all temporary shields are gone.
- This phase lasts until all temporary shields decay, which could take up to 4 seconds with the maximum amount of temporary shields.
The Radiant Transfer can seem like a very complicated ability when laid out in detail. However, the concept of the ability is simple. You can heal you and one of your teammates with temporary shields. These last for up to 30 seconds, then decay.

Tips for Radiant Transfer:
Tip #1:
This ability can make you into a little bit of a final boss in a fight. The Shields regenerate quickly. If you've taken damage you can cut line of sight, heal yourself and a teammate very quickly and keep the fight going. You'll outheal your enemies, unless they are on Gold armour, and can get aggressive to capitalise on your advantage.
Tip #2:
These shields can also be really effective to repeal third parties. Especially if shield swapping isn't possible. You can heal yourself, and a teammate while you back away from an aggressing team, pop flesh heals or even revive a downed teammate.
Tip #3:
While the temporary shields behave the same as shields, if you heal it will end the effect. You can't temporary heal, pop a battery, lose that health then think the temporary shields will come back or still be there. So try to get on the front foot (or escape!) with these shields in place then heal as they are about to expire or when the fight is over.
Conduit Passive:
- Sprint faster towards allies that are out of range of your tactical.
- While active, Conduit gains boost to her sprint speed, as long as the following conditions are met:
- Conduit must be sprinting; walking or sliding won't allow the passive to trigger.
- Conduit must have one or more allies outside of her tactical range, which is 50 meters long.
- Conduit must be facing such an ally for at least 3 seconds within a 60 degree viewing cone.
- The icon on top of the ally need to be shown as "speed up" icon instead of "shield" icon, with a fill-in ring surronding it. When the ring is fully filled, the passive will be activated.
- The effect ends when any of the conditions aren't met for more than 3(?) seconds.
- This effect has no cooldown.
- The speed boost is 30%.
Conduit's Saviours Speed is an underrated ability. No one wants to be left behind by their teammates. Maybe a Pathfinder grappes into danger and you need to catch up to heal them. This ability gives you a significant speedboost if you have a friendly player out of range of your healing ability.

Related articles
Tips for Savior's Speed:
Tip #1:
This passive can go for as long as someone is out of your range. This ability can help you close the distance between you and your teammates. It means Conduit is a good choice to nip and grab a care package, or to revive and then run back to your teammate who is protecting the loot for instance. It's a pretty simple but effective boost!
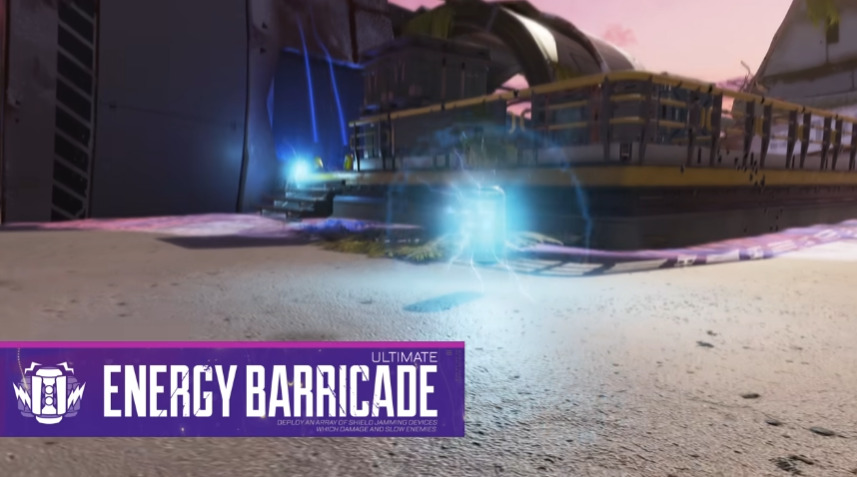
Conduit Ultimate:
- Deploy an array of shield jamming devices which damage and slow enemies.
- The middle jammer is always dropped straight down, while the six other jammers land to the left and right of the middle one.
- The jammers can bounce off of walls and other surfaces.
- If the jammers don't bounce, they are deployed such that their area of effects slight overlap, forming a continuous line of effect.
- When the jammers land, they take 4 seconds to prime.
- Once primed, the active jammers last for 60 seconds before disappearing or until destroyed.
- Each active jammer hovers slightly above the ground, and creates a visible zone of effect in a sphere around the node.
- The radius of the spheres are approximately 10 meters
- Enemies within range of an active jammer take 10 damage per second and are slowed by 15%, resetting every second.
- Despite the in-game description of the ability, the effect of jammers aren't stronger (or weaker) against shields than health.
- Each jammer has 250 hit points
Energy Barricade allows Conduit to deny some space with a line of shield jammers. These slow and damage enemies in their range. They can create a long line filling a space, and have significant hit points.
Tips for Energy Barricade:
Tip #1:
These shield jammers have 250 health each, and have sizeable hitboxes. This can mean they are both a help, and a hinderance. Obviously, you could throw the jammers down to act as some sort of cover. The jammers could block bullets long enough for you to heal, revive or shield swap. However, this could also work in the inverse. You could prevent yourself from being able to shoot at your enemies and give them that opportunity to revive or reset.
Tip #2:
These jammers can work really well indoors. They can bounce off walls, and overlap. This can completely block off a room or a corridor, making it really hard for an enemy to enter a certain area or perhaps even escape it!
Tip #3:
Additionally, the jammers can be launched a decent height and distance. This can make them really effective at blocking enemies from shooting you from heights or certain head glitches. A great example is the circle buildings on Broken Moon in POI's like Bionomics or Cultivation. You can get your jammers onto the ridge, deny the headglitch and use that to move up on a team who is trying to play the roof.

Apex Legends Conduit Guide: What legends work well with Conduit?
Conduit is a very flexible legend. She has good abilities for teams that want to take lots of fights, or teams that want to play passive and rotate to a good spot in zone for the endgame.
Aggressive Playstyles:
The Conduit and Revenant combination is honestly terrifying. With Revenant's Forged Shadows, and Conduit's Radiant Transfer you can have an unbelievable amount of health on a single three man team across a fight.
Passive Playstyles:
Conduit can really help those harder to use legends, like Caustic. The large hitbox of the gas specialist can leave him vulnerable, especially on longer rotates. Being able to heal your teammate as they continue on their travels is a big benefit to a legend like this.

Conduit has really shaken up Apex Legends. She can make team fights feel like you have a fourth or even a fifth player on the team. Give her a spin in your next game! Thanks for checking out our Apex Legends Conduit Guide.
Stay tuned to esports.gg for the latest Apex Legends and esports news.