
Tether, phase, kill.
A dedicated Ash Apex Legends player would tell you that she is vastly underrated by the playerbase. Sitting at a 2.6% pick rate (0.9% amongst Masters and Predators) means that you'll hardly see any Ash players in your next Apex session.
But, every legend available in Apex has a place in the meta. Plus, sometimes playing legends that people aren't used to facing can be an advantage if you catch them off guard.
Follow our Apex Legends Ash guide next time you pick Ash, Apex won't know whats hit it.
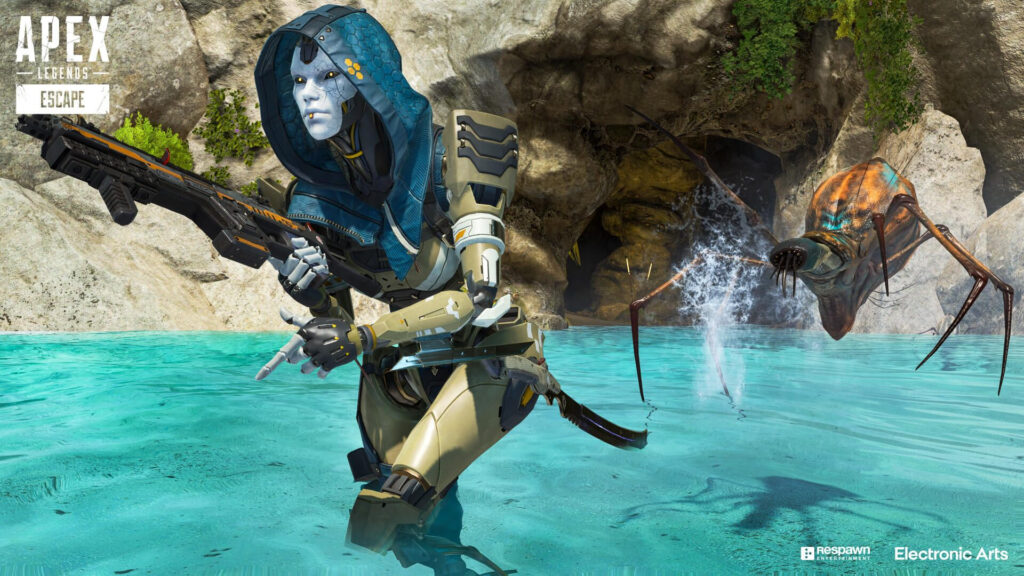
Apex Legends Ash guide: What makes Ash a good legend?
Ash's strengths vary depending on the gamemode you're playing. She is a little bit of an unsung hero in pubs for finding people around the map to fight with her passive.
In more serious ranked games Ash can be effective at closing gaps, and isolating enemies with her tether. Her passive then flips onto the other side of the coin, allowing you to make safer rotations.
Additionally, Ash is also a member of the Assault Class. This gives her access to Assault Bins, and allows her to to hold an extra 20 ammo per stack.
Strengths:
- Use her Passive to either avoid fights, or locate hotspots depending the situation you're in.
- Ash's portal can be a quick push or reposition in a fight.
- Tethering an enemy can help isolate them to get a quick kill.
Weaknesses:
- Her portal can be easily followed, which makes it a weak getaway ability.
- The tether is hard to time right in some situations.
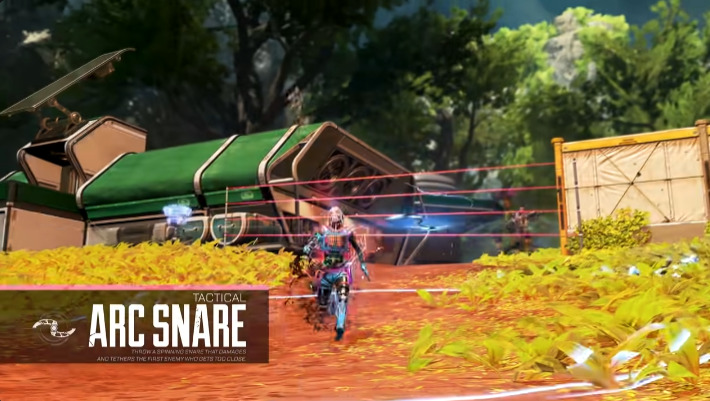
Ash Tactical:
- Throws a slow-moving projectile. Upon landing, creates a spherical snare trap with a radius of 4 meters.
- The first enemy to enter the radius takes 10 (20 to shields) damage and is snared for 4 seconds.
- Lasts up to ~5 seconds if no target is snared.
The Arc Snare is a throwable tether that can snare enemies for a short time. It travels slowly, although this was improved when Ash's heirloom was released.
Tips for Arc Snare:
Tip #1:
The Arc Snare is pretty useless unless you take advantage of it. Use it to capture an enemy and push them. Or stop an enemy from escaping to heal and finish your kill.
Tip #2:
Another great use of the Arc Snare is when it is paired with Grenades. Especially Arc Stars. Catch your enemy in your snare, then spam them with grenades. By the time the 4 second snare time has gone off, it will be too late for them to truly escape the radius of what you just threw.
Tip #3:
Finally, the Snare can be used to prevent yourself being chased. If it does not tether someone on impact, it lingers on the floor for a few seconds. That means you can throw it at a doorway, behind you or in another tactical position. If someone is chasing or pushing you, they'll be tethered allowing you to escape or hit a turn and burn.
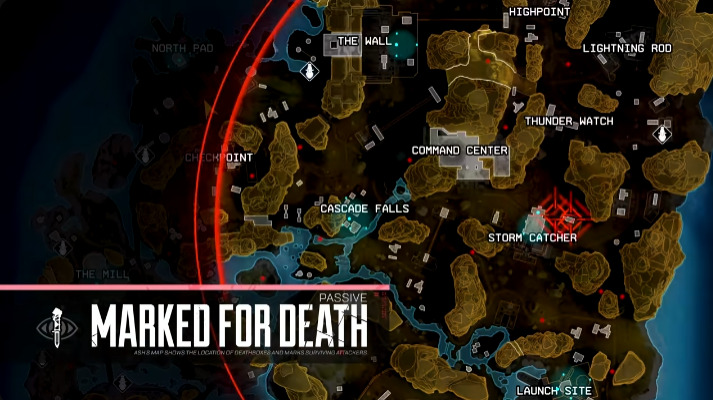
Ash Passive:
- Ash's map screen displays a marker over every Death Box that is less than 3 minutes old. These can be pinged from the map.
- Ash can interact with the Death Box of any player (including your own squadmates) killed by another squad to find that squad's current location. If the attackers are dead, it will return "No Living Attackers". This will alert any scanned enemies they have been scanned by Ash.
The Marked for Death passive is the least talked about part of Ash's kit. However, it could be argued that it is the most useful and flexible ability around. There are a lot of different applications for this ability, and because it is a passive there is no cooldown. Just remember, if you scan a deathbox, the enemy knows where you are.
Related articles
Tips for Marked for Death:
Tip #1:
If you've just respawned a teammate, Ash can see where there are deathboxes on the map. This can be a great way to find loot for your recently revived teammate to make sure they have everything they need.
Tip #2:
In pubs, we all know that the games can get a bit boring. There might be only four or five squads left in the first ring. Ash can help you track down the remaining enemies, either by seeing where they just fought or scanning death boxes to locate them.
Tip #3:
The opposite use of her passive can also be very useful. If you're in a super sweaty ranked game, or maybe even just trying to survive for a Battle Pass challenge/XP, Ash can help you avoid enemy fights and hotspots on the map.
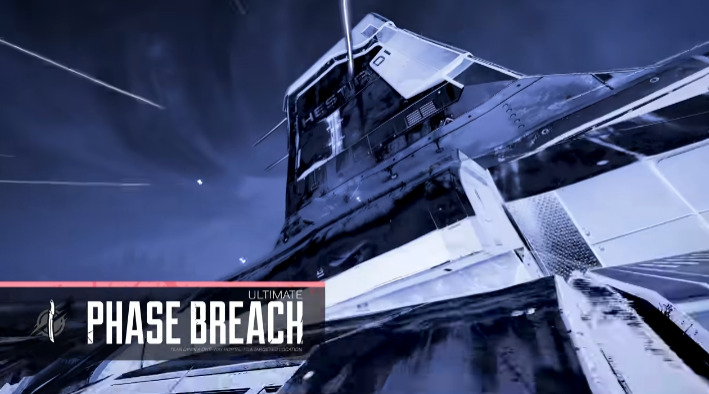
Ash Ultimate:
- A one way, straight shot portal.
- Ash immediately enters the phase tear upon activation.
- Maximum range is 62.5 meters.
- Lasts ~15 seconds.
The Phase Breach is perhaps what holds Ash back in the eyes of most Apex players. The breach can be hard to line up fast, it can be easily followed and doesn't go very far. Most players compare it to Wraiths Ultimate ability (as the only two portals in the game) but in reality they are completely different.
Tips for Phase Breach:
Tip #1:
This ability can struggle as an escape mechanism because it is easily tracked and there is a slight delay upon exiting. However, it can be deployed through open or barred windows. That can let you get easily in, or out, of a building.
Tip #2:
Try and think of the portal as an aggressive, rather than defensive tool. Closing the gap on an opening knockdown, or perhaps taking the height above a team on a roof or separate floor can be powerful uses of the Phase Breach.
Tip #3:
The Phase Breach is only one direction, which means that the concept of camping it is redundant. Any player who exits the Breach, faces in the same forward direction. That means that if someone chased you, taking a step behind the Breach or even to the side would mean you could get a lot of damage in before they could work out where you are.
Apex Legends Ash guide: What legends work well with Ash?
Ash is undoubtedly at her best when being aggressive, and pairing her with legends that enable this is important. That doesn't mean purely aggressive legends, but those that compliment both her strengths and weaknesses.
Aggressive Playstyles:
All three of these legends add something to what Ash can do. They all compliment an aspect of her hit. Fuse in particular pairs really well with the Arc Snare. He can use his Knuckle Clusters, or other grenades, to bombard anyone snared by that ability.
Additionally, Gibraltar's Dome of Protection gives you some stability to heal up, as Ash works out where she could Phase Tear too next. She can line it up in the bubble, then strafe out of it to execute it.
Passive Playstyles:
Fuse once again features, for the same reasons as mentioned above. Fuse really does pair well with Ash at this moment in time. Additionally, Lifeline and Loba both pair well with Ash. Loba can be used to scoop loot safely from fights that Ash can identify on the map. Lifeline is strong at resetting fights with her abilities, which can help Ash play looser when holding a position using her Phase Breach to return to base if she runs into trouble.
Overall however, Ash is clearly much more suited to an aggressive playstyle than a defensive one.
While Ash might not be the most popular legend, she can still have an impact on your next game of Apex Legends.
Thanks for reading our Apex Legends Ash guide.
Stay tuned to esports.gg for the latest Apex Legends and esports news.