Release the hound.
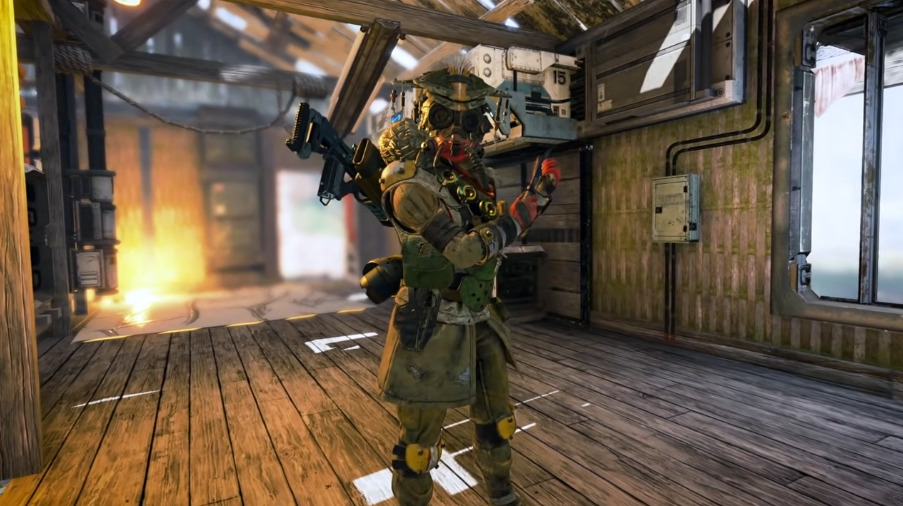
Bloodhound has been in Apex Legends since the very beginning when the game launched in February 2019. Despite the addition of new legends, maps and an ever-changing meta, Bloodhound has remained a staple of the casual and competitive scene.
Bloodhound is a legend all about information. Of all the 'scan' legends that Apex has ever had, the information that Bloodhound provides is the easiest to understand and act upon.
This Apex Legends Bloodhound guide will give you the upper hand on your enemies.
Apex Legends Bloodhound guide: What makes Bloodhound a good legend?
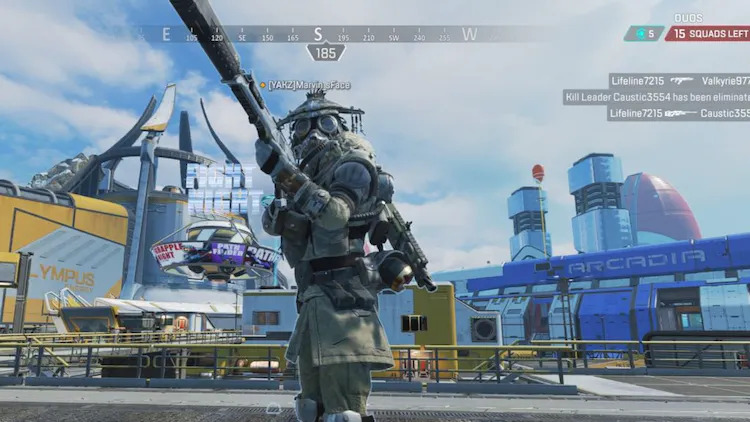
Bloodhound is a tracker/hunter legend that sits in the Recon class. They are excellent for multiple different playstyles and provide information on the whereabouts of opponents and also critical gameplay clues. Bloodhound can help inform smart decisions and good game planning.
Strengths:
- Scans provide critical info for your team.
- Bloodhound has heat seeking vision, and faster movement speed in their ultimate.
- Scanning Recon Beacons lets you see where everyone is on the map.
Weaknesses:
- Scan gives away your position and can leave you vulnerable.
- Outside of your ultimate, Bloodhound has no real movement abilities.
- White Raven information is not very specific.
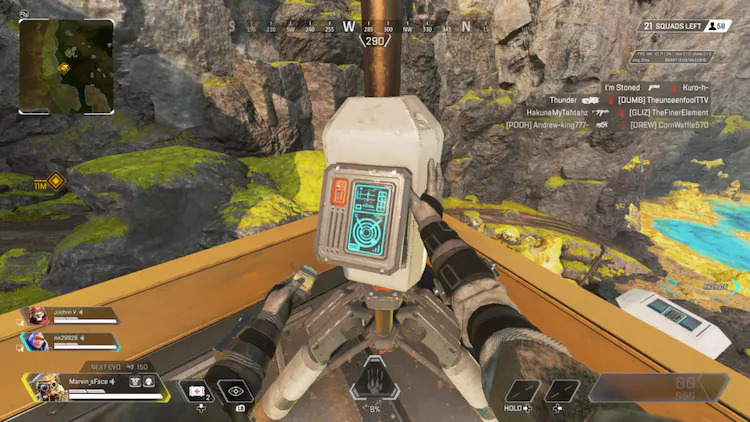
Bloodhound Tactical: Eye of the Allfather
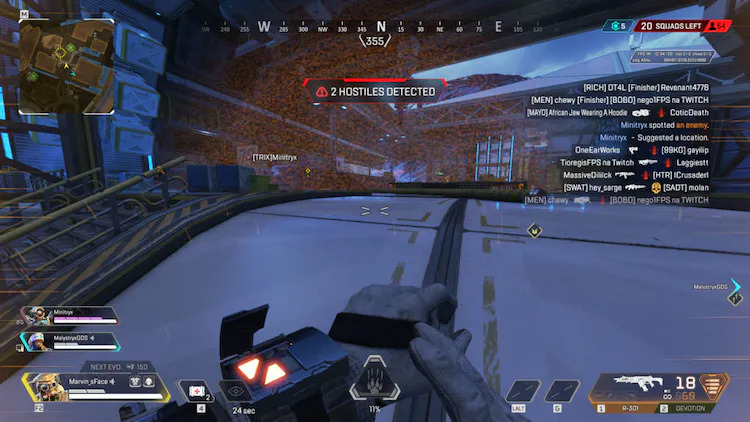
- In a 125° cone in front of you, all enemies, traps, clues, and Loot Ticks are highlighted and tracked to be seen by you and your allies.
- The maximum distance it will highlight is 75 meters.
- It will also tell you how many hostiles were detected. With the maxed number of detected hostiles being 10, any higher will read as "10+ HOSTILES DETECTED".
- The full-body scan lasts 1 second, while the tracking marker lasts 3 seconds.
- Enemies caught in the scan will see 'SONAR DETECTED' on their HUD.
- It takes 1.8s for the ability to activate.
Bloodhound's tactical provides a scan that highlights not only enemies/enemy traps but also gameplay clues integral to team decision making. It's useful because it provides your team with information that can determine next steps in a fight. It can be used effectively as an aggression/pushing tool or a defensive deterrent.
Tips for Eye of the Allfather
Tip #1:
Make sure you have a wide scope of your POI when scanning. For example, stand outside or on high ground. A scan goes to waste if enemies are not within range or within the scanning cone. The critical information that a scan provides can make or break success in a fight so be sure to scan from an area that provides as much information to you and your teammates as possible.
Tip #2:
Scanning applies pressure both offensively and defensively. If available, always scan when initiating a push on a team or when a team is pushing on you. A well place scan can not only disorient a team being pushed but also deter a team that is pushing you if their teammates aren't with them.
Be warned using Eye of the Allfather may also alert enemies to your presence. So if you want to sneak, perhaps save your scan until you are discovered.
Tip #3:
Pressing your scan button is a reasonably long animation when you are not in your Ultimate. It's important to time your scan and not get caught while actually executing the scan itself. Perhaps you're sat on a door or can hear enemies approaching quickly, scanning could leave you unable to fight.
Bloodhound Passive:
- Foes leave behind clues for you to find. White Ravens may appear to guide you to battle and charge your abilities.
- Actions performed by enemies leave markers that Bloodhound can see. See below for all actions that leave evidence.
- Clues will note how long ago they occurred, and vanish after 90 seconds.
- When no enemies are around, Bloodhound can see White Ravens in the world, which can be interacted with to cause them to fly towards the nearest enemy.
- Scanning a White Raven will also activate it, and fully refunds the tactical charge.
- White Ravens spawns 50 meters away from your current position when you are approximately 180 meters away from the closest enemy.
- When activated, White Ravens will fly toward the enemy (will be about 180m from the origin) and leave a trail behind them; both the trail and new raven marker are visible on the minimap for Bloodhound and their squad.
- Interacting with a White Raven recovers 25% of both your Tactical and Ultimate charge.
Bloodhound's passive further leans into their information gathering. Bloodhound can see 'footsteps' on the ground, that show where an enemy was, what they were doing and how long they were there for. Additionally, Bloodhound is also occasionally accompanied by a white Raven that helps you find your enemies.
Related articles
Tips for Tracker:
Tip #1
If you're a solo queue player, and can't communicate verbally with your team, make sure to ping markers on the floor that you want your teammates to know about. If you're in hot pursuit of an enemy, following their tracks, pinging the series of tracks you're following will hopefully help your teammates get the idea.
Tip #2
Keep an eye out for what the specific trackers say, and where they lead. They could let you know that there is a poor defenceless solo you could snag an easy kill on, or that a team is in the POI you wanted to head to craft in. Don't underestimate how useful these little bits of information can be when you take the time to piece them together.
Tip #3
Please. Scan. The. White. Raven.
Scanning the Raven gives you free charge to your Ultimate, and costs nothing, because it also restores your Tactical cooldown too. There is literally zero reason not to scan the Raven. If enemies are nearby, it won't spawn, so you don't have to worry about exposing yourself either.
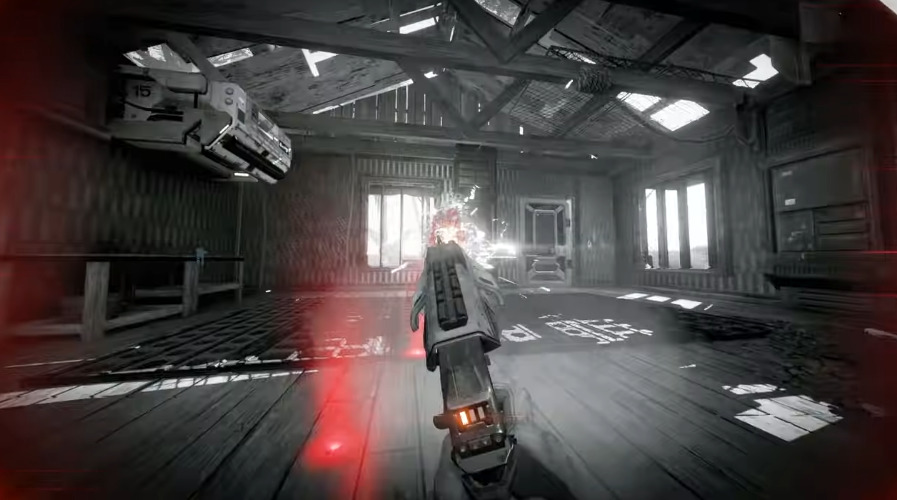
Bloodhound Ultimate: Beast of the Hunt
- Lasts 30 seconds, and immediately ends when downed.
- Upon activation, immediately deploys a White Raven which flies toward the nearest enemy. Each enemy downed will cause additional White Ravens to spawn.
- Scanning a White Raven during your Ultimate will overcharge your Ultimate by 25% per scan and refund the tactical charge.
- Downing (not killing) enemies will add 5 to 15 seconds to Beast of the Hunt timer. The seconds added to the timer depend on the remaining duration of the ability.
- Upon activation, immediately deploys a White Raven which flies toward the nearest enemy. Each enemy downed will cause additional White Ravens to spawn.
- Increases your speed by 30%.
- Your vision turns black and white, except for enemies, which are highlighted in red.
- Enemy footprints are also highlighted in red.
- Certain things will retain a little color, including the edge of The Ring, grenade explosions, and various enemy abilities respectively.
- Teammates are highlighted in blue.
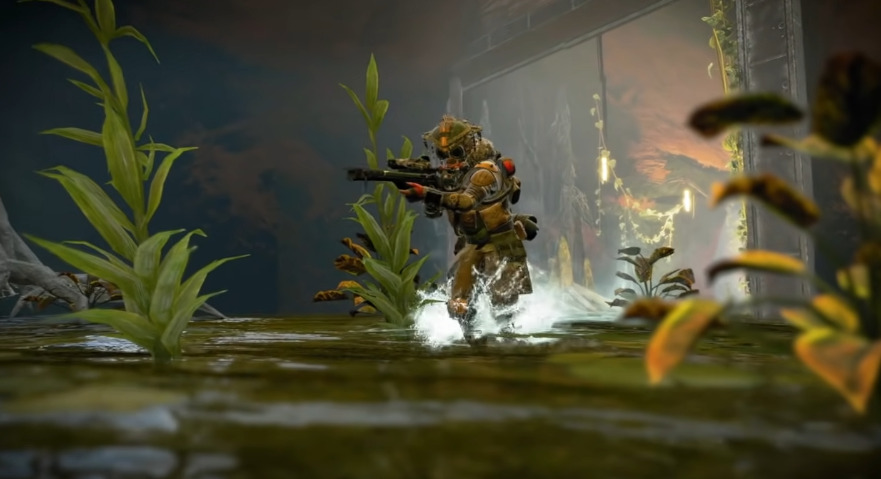
Beast of the Hunt is the most powerful tool in Bloodhounds kit. It is there to help you get aggressive in fights, spot enemies and close them down.
Tips for Beast of the Hunt
Tip #1
The Beast of the Hunt is very powerful in cluttered situations. Be it Bangalore smokes, Caustic Gas or general visual clutter and chaos. Bloodhounds' heat seeking vision can help you pin point and spot enemies through anything other than solid objects.
Tip #2
Trying to pull off a late game Evac Tower, or Valkyrie Skyward Dive, play can be really hard. You don't always know what is free, and there could be teams in all the spots you want to play. Noticing those teams can be hard, which could leave you with no options at all.
Popping the Beast of the Hunt before you take the tower will make it much easier to scout spots and see where enemies are. Their highlights can provide critical information. This is even easier than the scans that Valkyrie naturally with her ability.
Tip #3
When you use this ability, you need to try and get on the front foot in your fights. The faster movement speed helps you close gaps, but simply your faster strafe will be harder to track. Moving at a speed players aren't used too will throw off their muscle memory.
Apex Legends Bloodhound guide: What legends work well with Bloodhound?
The information that Bloodhound
Aggressive playstyles:
Bangalore and Bloodhound make a really good combination. Bloodhound can scan, or use their Ultimate's heat seeking vision, to track people through smoke. Revenant and Horizon can both capitalise on isolated enemies, either with a Shadow Pounce or a Gravity Lift. A scan lets you locate those isolated enemies and take full advantage.
Passive playstyles:
Conduit can help keep Bloodhound alive with her Radiant Transfer. Bloodhound can sometimes struggle with a lack of movement, but giving them extra shields in fights can help combat that. Caustic and Wattson are simply very strong legends for a passive playstyle.
We hope this Apex Legends Bloodhound Guide helps you to be well equipped for the warfare ahead.
Stay tuned to esports.gg for the latest Apex Legends and esports news.