
Revenant and Loba’s story continues with more questions asked than answered.
A Thief's Bane, the new story mode PvE event for Apex Legends, just got released. The story continues the ongoing plot involving Revenant and Loba, which was last left off with Loba deciding not to kill Revenant’s source code after Loba learns that Revenant actually wanted to die.
What happens in A Thief's Bane?
In A Thief’s Bane, Loba infiltrates a Hammond Robotics facility and discovers that the normal Revenant models are missing alongside the main source for Revenant, which was first seen in Season 5’s launch trailer. In fact, that trailer had a facility full of Revenant bodies. However, in this in-game teaser, the facility is completely empty.
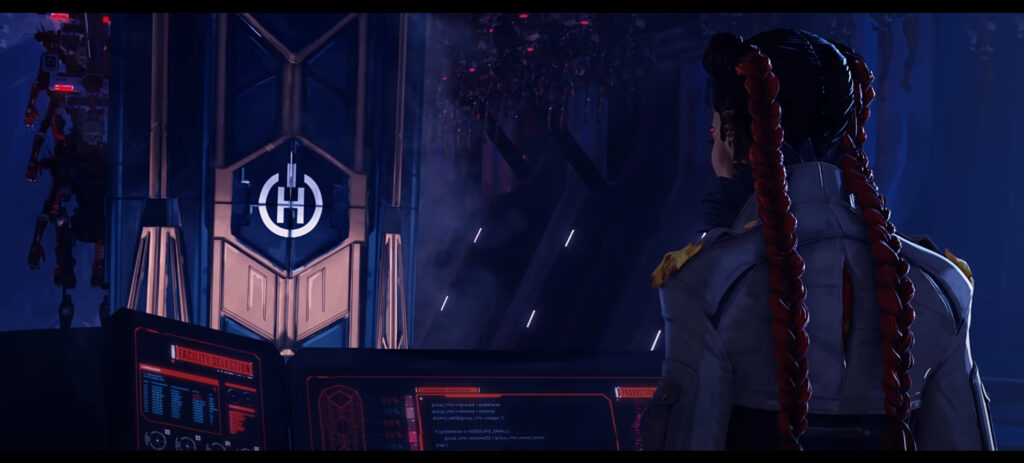

This could mean either two things: Silvia has taken every single body or that Revenant is finally running low on replacement bodies after so many deaths over the years. All we know now is that Duardo Silva is doing something with Revenant and that Loba is determined to find out what.
This in-game teaser also continues the story of the recent SFTO titled “Kill Code: Part 1.” In that teaser trailer, Loba, Lifeline, and Mad Maggie searched a facility to investigate Silva's plans. Loba disappeared after something unseen caught her attention after the group entered the location.
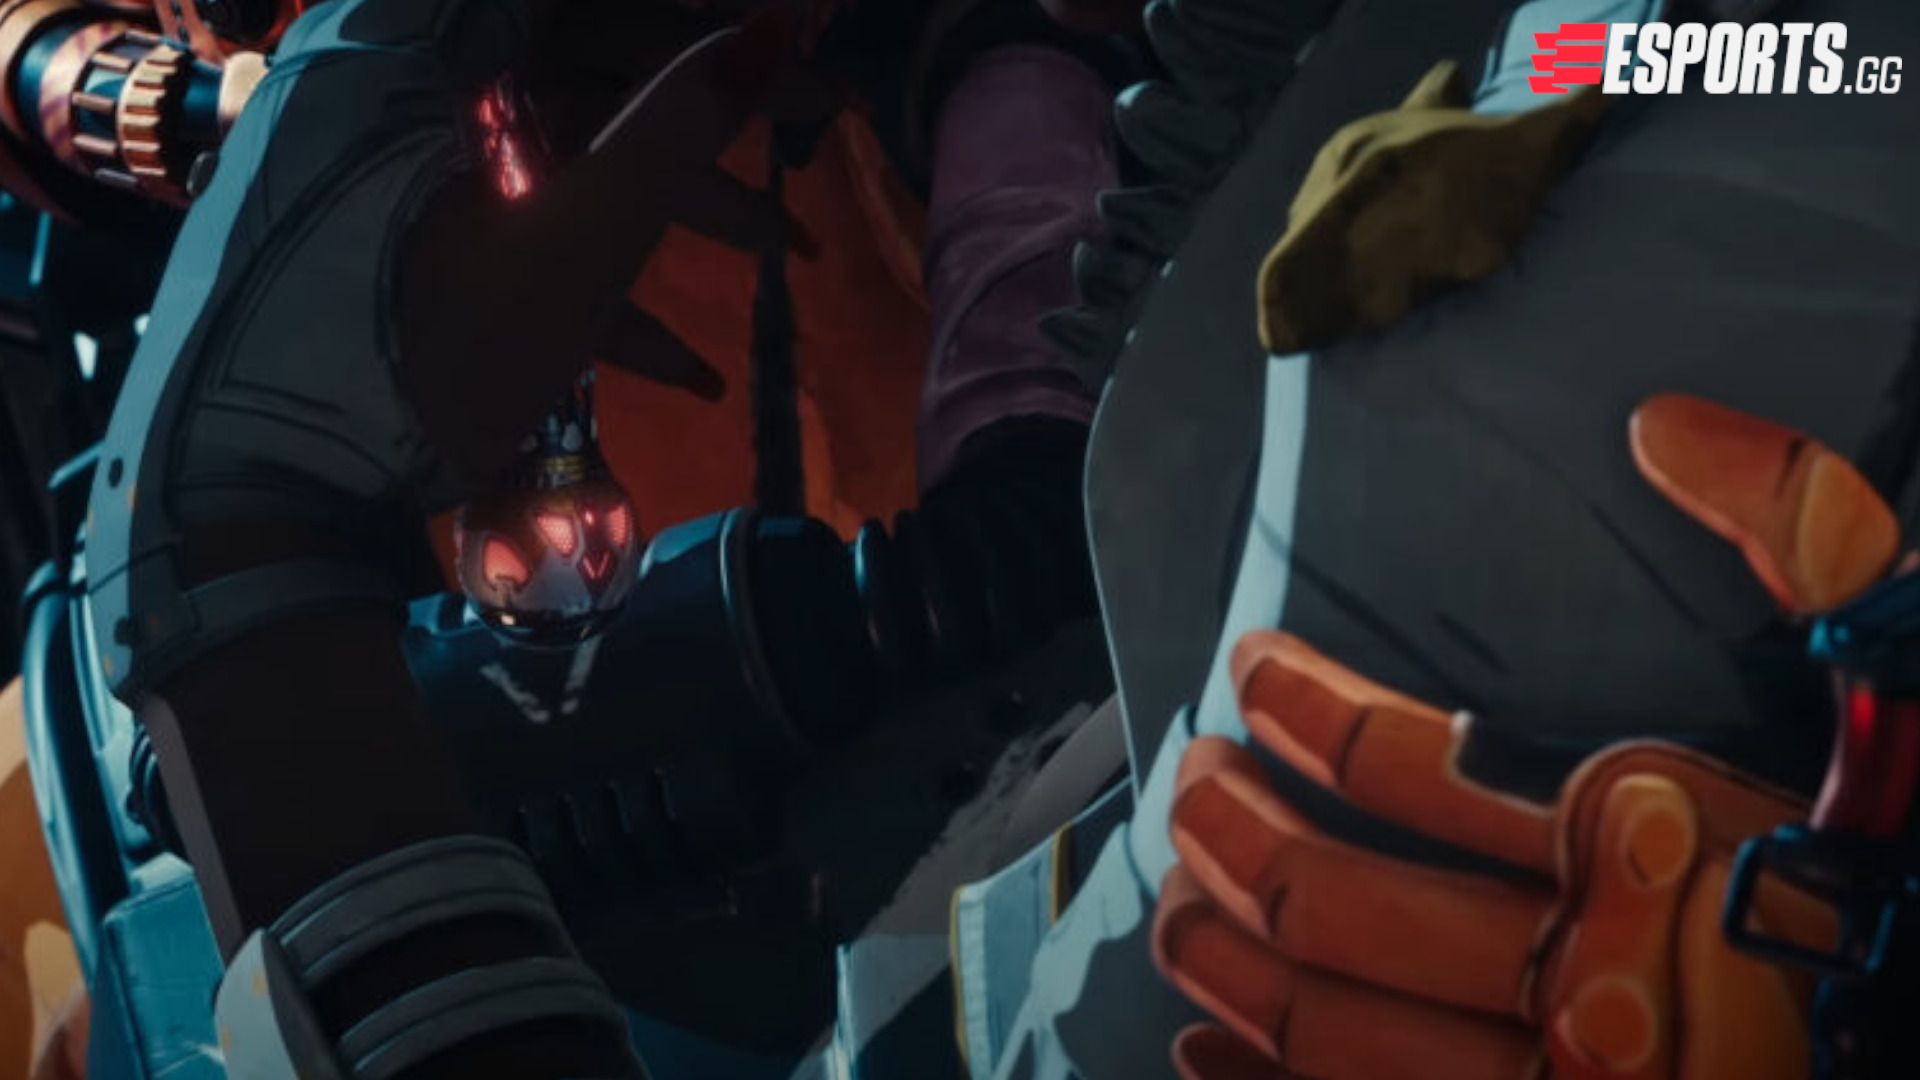
It seems that this in-game teaser takes place during that SFTO, as by the end of both teasers, Loba is holding Revenant’s eyeball. But what exactly is she going to do with it?

What does this mean for Revenant in Apex Legends?
It's long been rumored that Revenant would receive a massive update in the near future of Apex Legends. You can read more about that here in our breakdown of recent rumors and leaks. It seems that this in-game teaser is confirming that something big is coming for Revenant, and that will most likely be a re-release for the character.
Walkthrough for A Thief's Bane
After you start A Thief's Bane in Apex Legends, you'll see a small cinematic with Loba and Valkyrie. The pair seem distant as Loba is unwilling to open up to Valkyrie about what she's doing.
Following that interaction, most of the PvE experience will be throwing Loba's bracelet to various platforms as you enter deeper into the Salvo facility. To begin A Thief's Bane, simply load into the story event through the main menu.

Activate the panel to begin
After the cutscene with Valkyrie, activate the display panel in front of you in the middle of the platform. The platform will then descend and the fun can begin!
On arrival on the lower-level you will be able to use Loba's Tactical Ability, Burglar's Best Friend, which throws her bracelet, teleporting you to wherever it lands. The ability has no cooldown in this event so spam it as much as you like.
Cross the first Chasm
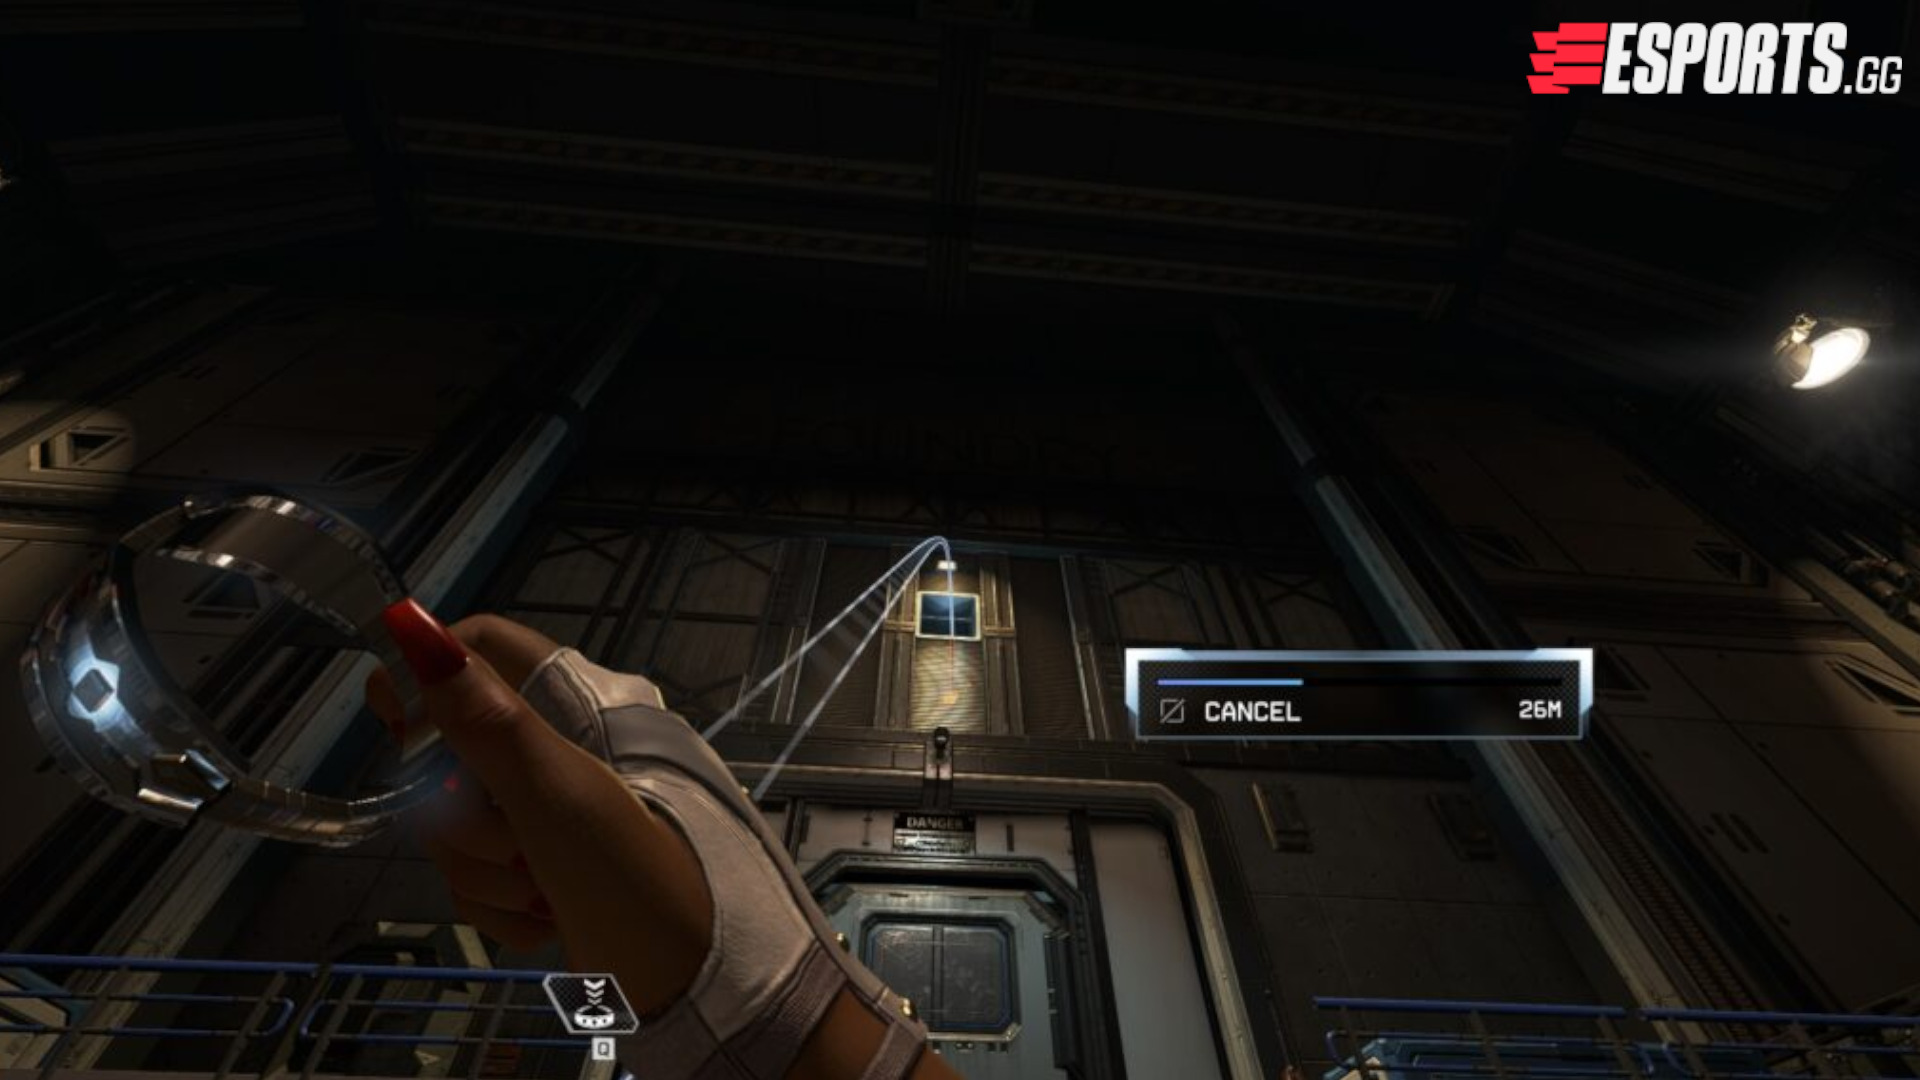
First, get to the broken walkway and throw your bracelet across the chasm. It may be slightly difficult to aim, but going to the right corner of the broken walkway may help. Remember you can hold down the ability (Q on PC) to aim the bracelet.

Once you're across the chasm, throw your bracelet through the air vent above the doorway.
Walk through the vent shaft to the other side. Once you're through, look to your left and throw your bracelet up to the platform against the wall.

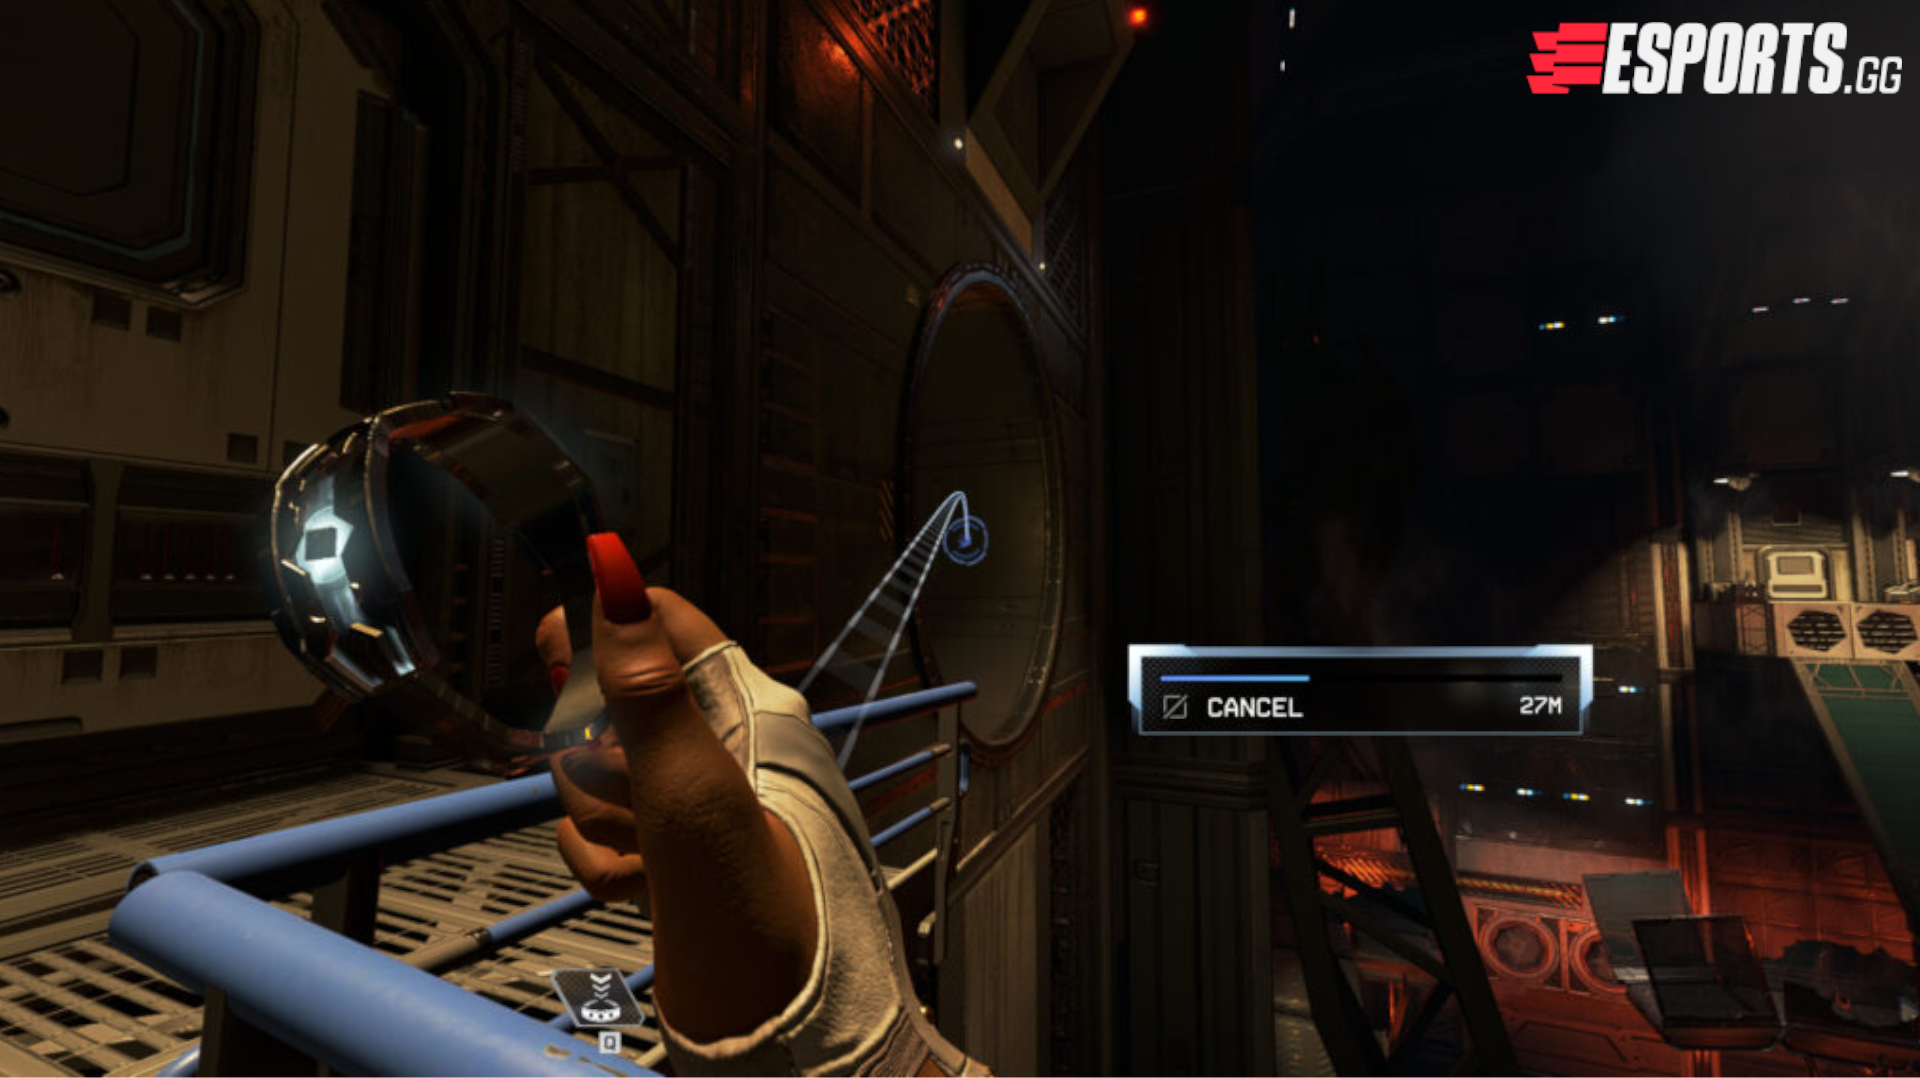
Once you're up on the platform, throw your bracelet into the giant circle on the wall next to you and walk through it to the other side.
Related articles
Throw your bracelet down to the platform to your left once you've walked through the wall pipe. Keep going forward, throwing your bracelet over a few broken walkways until you have to get on the other side of a broken beam.

Get to the door and turn to your right. Climb the yellow ladder up the some broken pipes and then climb those as well. Now, you can throw your bracelet up high to the platform to your right.

Follow that walkway until you reach a dead end. Then, turn to your left and throw your bracelet through the broken glass panel.

Once you've dropped down into the broken glass room, throw your bracelet to the platform with the door ahead of you and enter the air duct above the door. Climb through the air vents and throw your bracelet until you reach the other side. Gain access to a hallway and walk to your left until you see another air duct. Enter that duct with your bracelet.

After entering this next room, drop to the floor and slide under the door. You'll enter a room full of ziplines next.

Ride the left zipline and throw your bracelet near the end to a platform on the right.

Once you've reached this platform, look up to your left and you'll see another platform. Ride the vertical zipline in front of you and throw your bracelet on that platform. Enter the vent above the door.

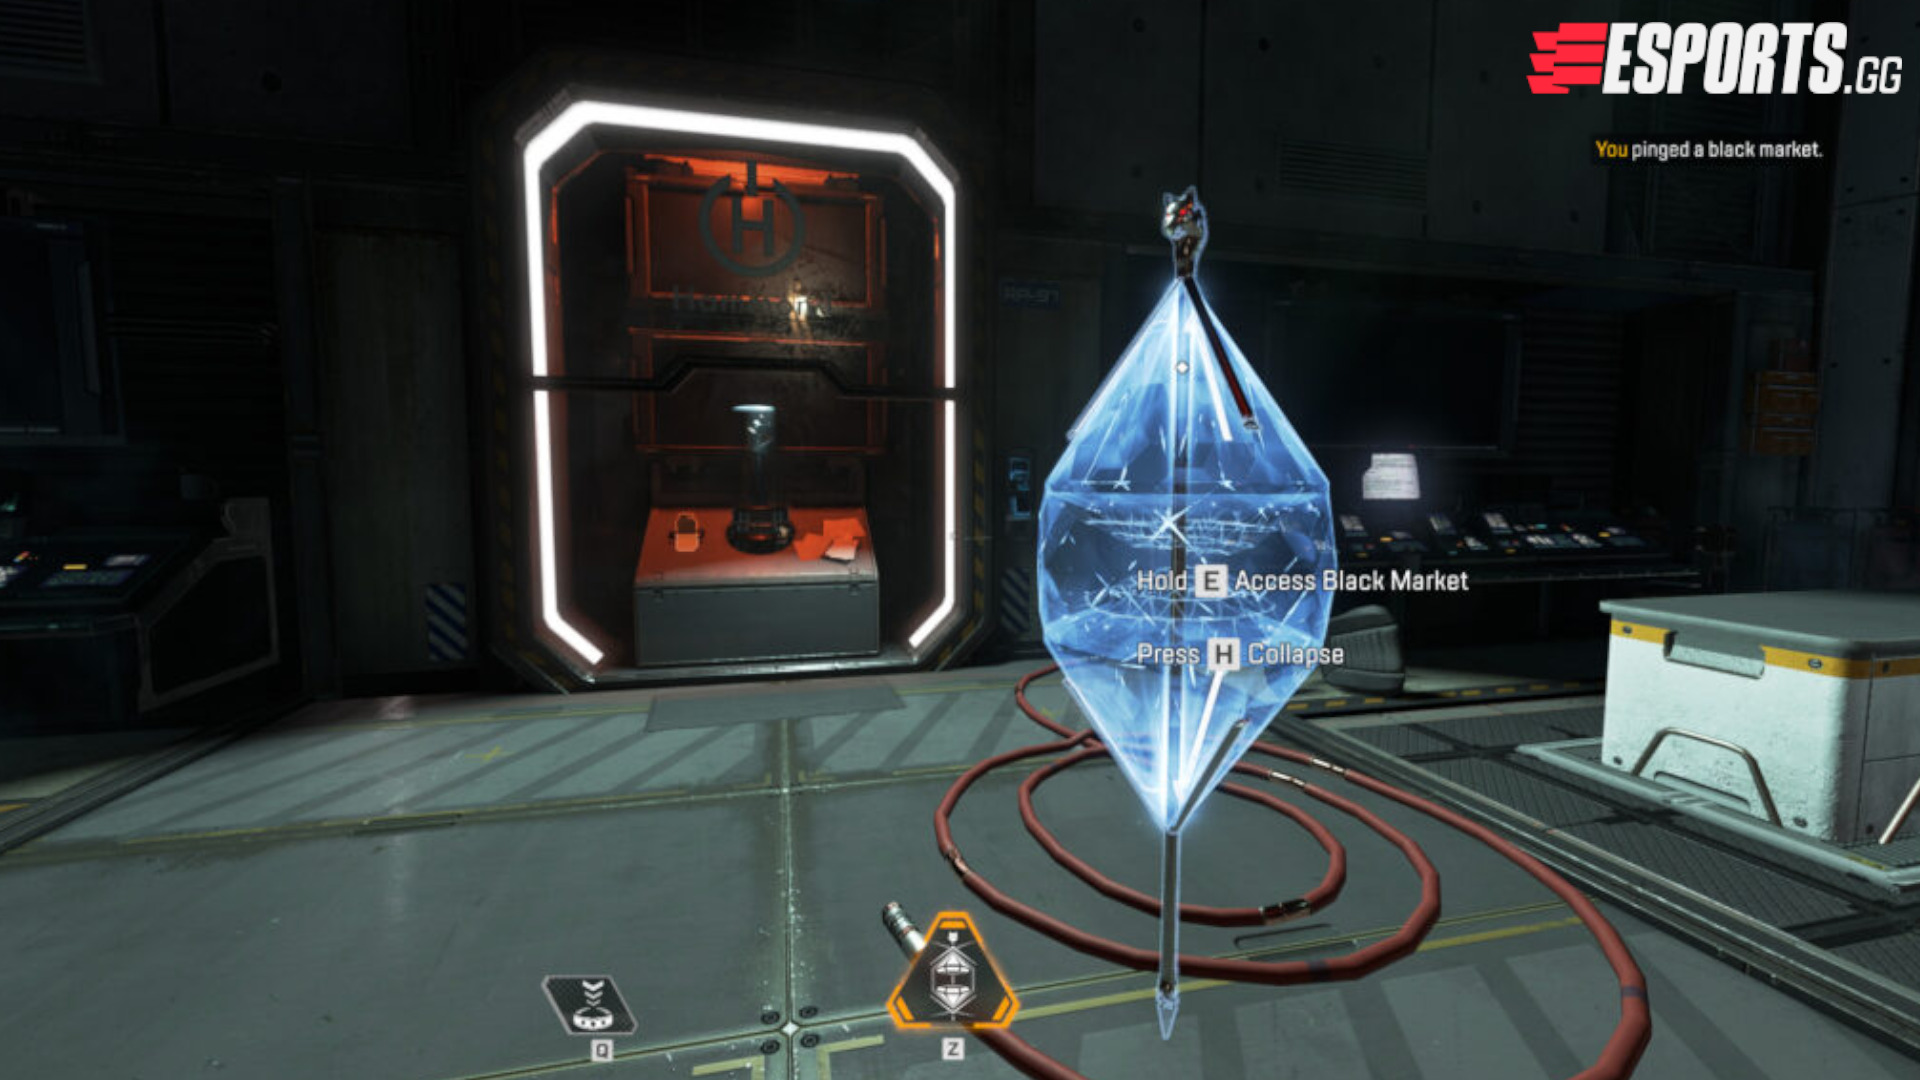
Once you're inside the next room, you'll be able to use your Black Market and steal a data pad.
Now double back to the zipline room and get to the locked doors on the right side of the zipline room. Once you're there, use the datapad and it will unlock the doors so you can get to the final room of A Thief's Bane in Apex Legends.

After walking through the doors, you'll enter a room where you have to platform across using your bracelet and timing.
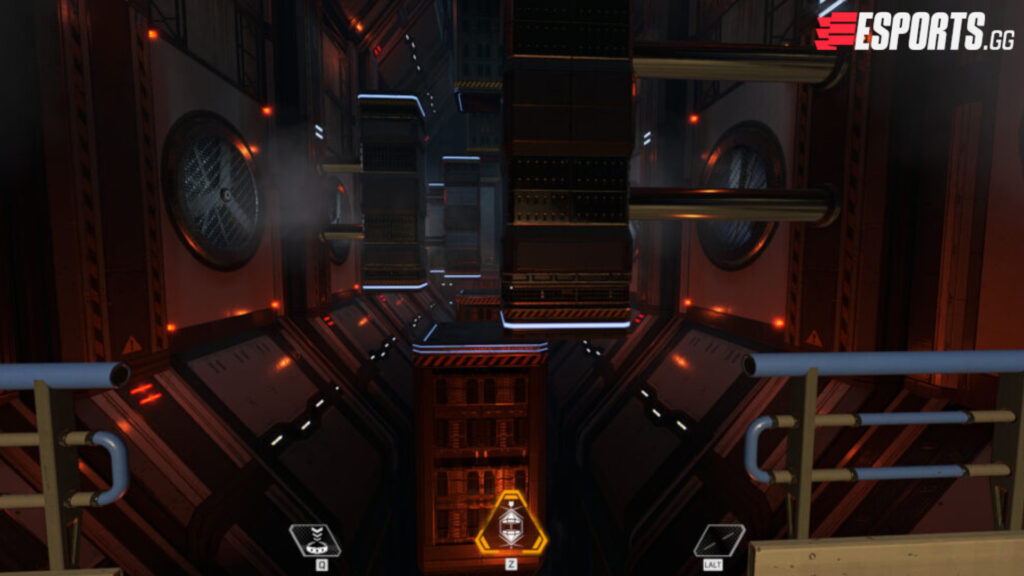
However, the goal is not to reach the doors on the other side, but instead the open spinning vent fan on the right of the room after you've reached the doors.

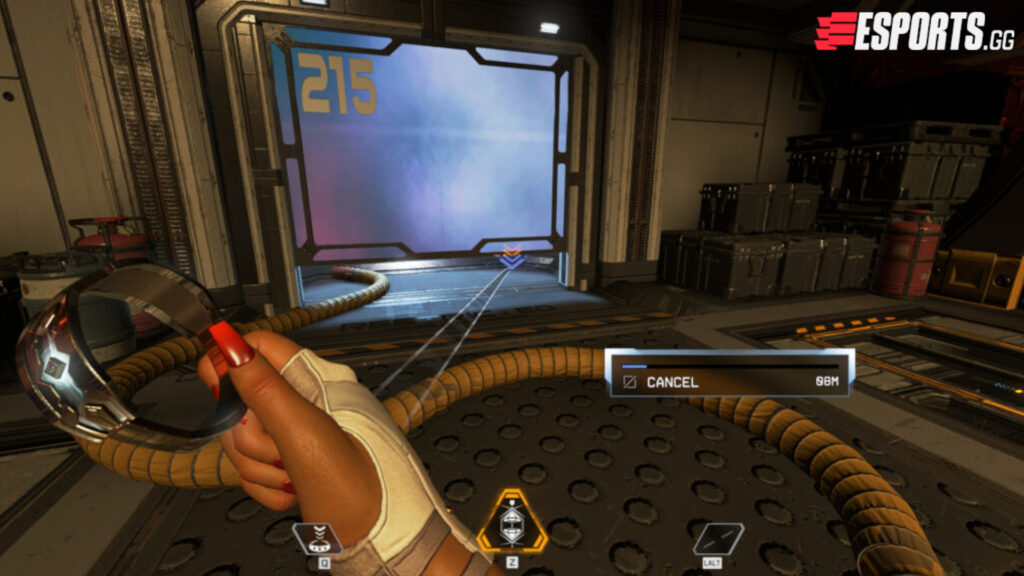
Go through the fan entrance and follow the tunnel until the top opens. Use your bracelet on the right side of the room to get out. Go up the stairs and throw your bracelet underneath the door labeled 215.
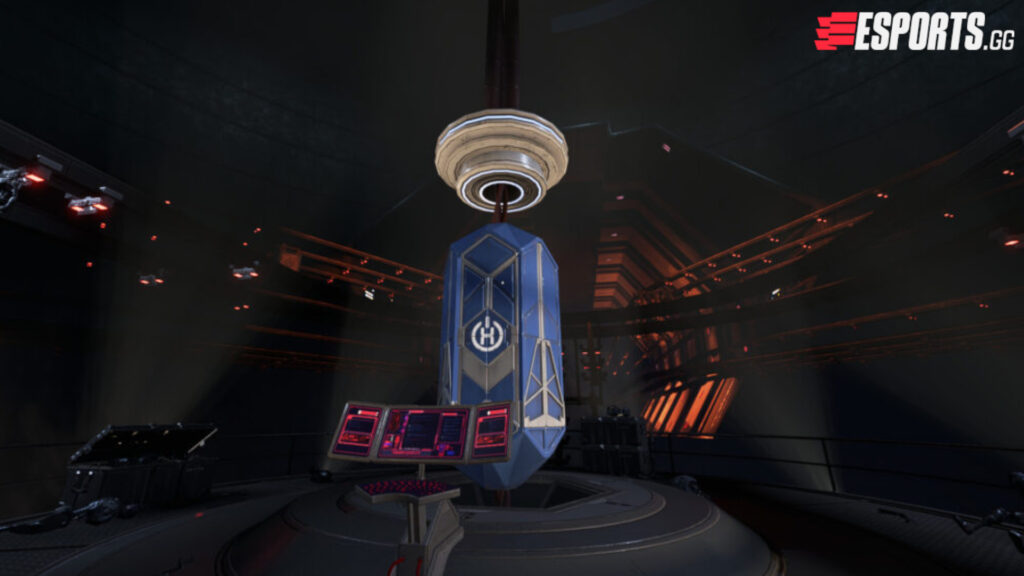
Follow the stairs up to the Hammond Robotics console and interact with it. You've now finished A Thief's Bane and will load into the Apex Legends lobby.
For more updates on Apex Legends and its lore, as well as more esports news, check back on esports.gg!