
Struggling to beat Eterllick the Tracker in The First Descendant? You don’t need a party, you can do it solo. Here’s how to beat him.
Eterllick the Tracker is the first challenging boss you will face in The First Descendant's Main Story, and he's tricky enough that people want to know how to beat him.
The Eterllick boss fight is the final part of the Place of the Ironheart Awakening Main Quest, as you look in search of answers of how to restore Guide. Eterllick has three phases of combat, with Phase 1 and 3 focused around a very powerful shield. Here's how to take him down SOLO.
How to beat Eterllick the Tracker in The First Descendant
Eterllick the Tracker can seem unkillable, even with such an immense battlefield. Mobs continue to spawn and it can seem like your fighting a never-ending battle until you eventually run out of mission attempts. While it may seem like it cant be done solo, believe me it definitely can be. Here's the tricks I learned to defeat Eterllick the Tracker, the most important of which is how to break that ridiculous shield.

Quick Tips to remember to beat Eterllick the Tracker
- If you die you will respawn outside the door (no boss battle progress saved)
- Use a Sniper Rifle to crack Eterllick's Sphere Shield's weak points
- Make use of the size of the battleground to isolate enemies
- Use your Grapple Hook to get a height advantage or to escape danger
- Avoid being close-up to Etterlick (keep a safe distance)
- Remember the mobs in this boss fight are endless
Recommended Loadout for Eterllick the Tracker
For Etterllick and the mission you will want 1-2 weapons good at distance, and one weapon for mob clearing. There are a few Support Droids in the Forgottense so make the most of them.
Weapon | Reason |
|---|---|
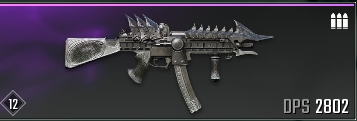 SMG (or Assault Rifle) | A bread and butter gun that takes General Rounds so you don't want to run the risk of running out of ammo in The First Descendant. Ideally go for SMG because there is a lot of close quarters combat in the Boss Fi |
 Scout Rifle | The battlefield for this Boss is big making the Scout Rifle an excellent choice to kill his Phase 2 Orbs from a distance. Plus there are a LOT of ledges in Forgottense, which you can use to have a breather or shoot stronger Vulgus enemies from afar. |
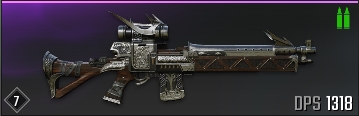
 Sniper Rifle | Sniper Rifle will help you to quickly shutdown Eterllick's shield without having to linger too close to him and his minions. Save the Sniper Rifle only for destroying his shields (You can also use it to kill the bulky Vanguard enemies leading up the Boss Fight with just 3-4 shots with a decent Sniper Rifle) |
Phase 1: Break Eterllick the Tracker's Shield
After your initiate combat, Eterllick will throw up a spherical shield which is invulnerable to all damage. While you initially may think you just need to kill a certain number of mobs for it to deactivate, you would be mistaken - the mob spawns are actually endless.
To break Eterllick's sphere shield you'll need to aim at one of several floating triangular mechs which power his shield. Either hit a few well placed Sniper shots or unload a few clips into one of them and Eterllick's shield will collapse.
If you're playing in a duo or more, have one person focused on breaking the shield, and the other(s) just wiping out the incoming mobs.
Phase 2: Kill Eterllick's Floating Orbs

For Phase 2, kill all three of the floating orbs which are connected to Eterllick the Tracker, for this use your Scout Rifle from a distance. You will have encountered these type of orbs earlier in the main story, but main thing to remember is you'll need to deal a lot of damage to break them.
This Phase is a lot easier to deal with because you don't need to get close. If you do feel yourself taking some heat, go on the hunt to take down some weaker mobs to heal up and wait for your shield to recharge.
Important: You need to kill ALL three orbs in a short space of time, if you take too long they will reset.
Phase 3: Rinse and Repeat Shield & Orb Killing
For Phase 3, Eterllick once again re-engages his spherical shield, so take the same approach and simply shoot down the triangular mechs as they are its weak point. Once his shield falls again, unload into him and know that he soon will fall.
Depending on how much DPS you are dealing you may have to do the Shield and Orb Killing a couple more times until he eventually is completed. However, he has no other Phases of combat.
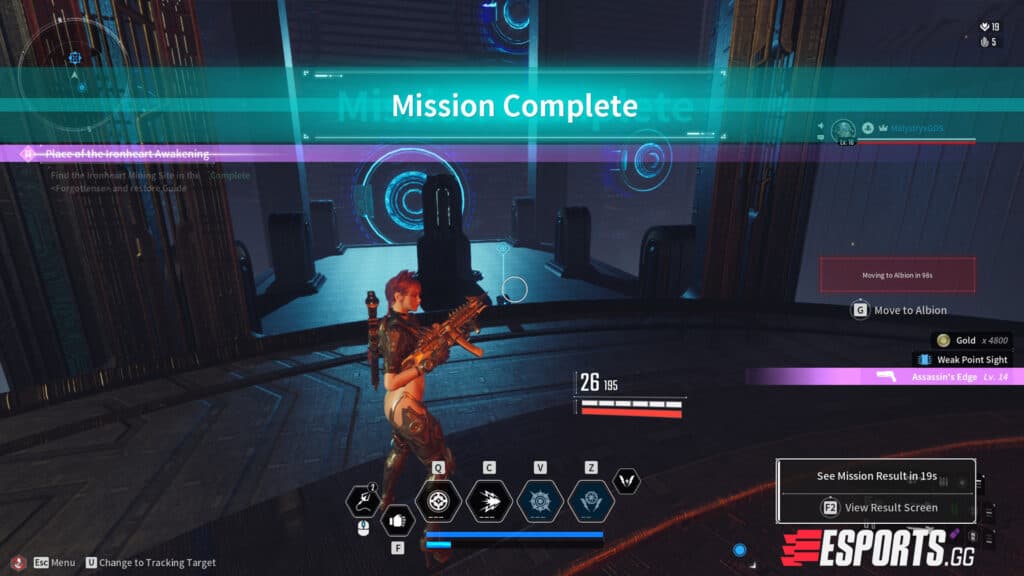
Once the battle is over, engage with the Altar to enter a cutscene for the Main Story.