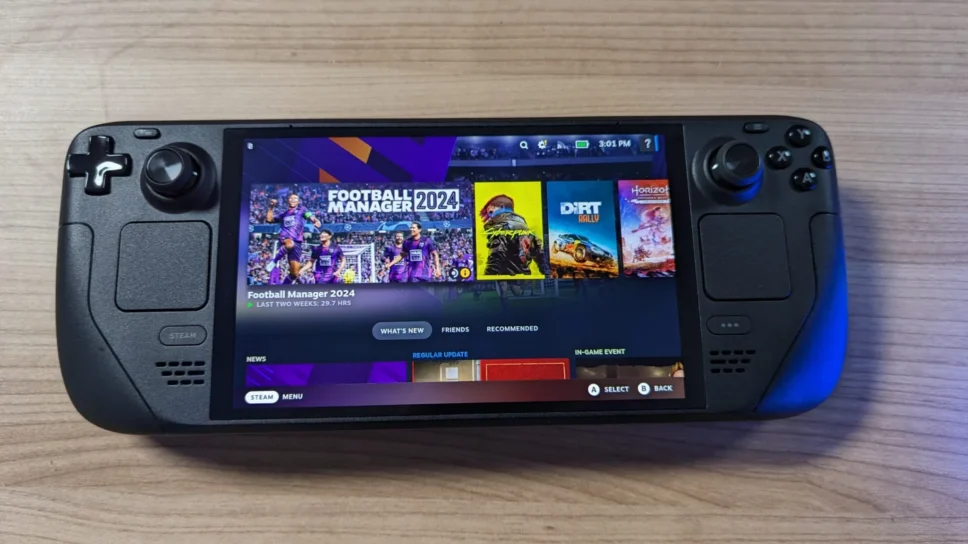
Play your favorite games on the Steam Deck.
The Steam Deck is a mobile handheld device that gives you the luxury of playing your favorite video games while on the go. Players may have different favorite games and everyone wants to know how to play games of a certain publisher on Steam Deck. In this article, we’re covering How to Play Battle.net games on Steam Deck.
How to Play Battle.net Games on Steam Deck
There are more than a few ways to install Battle.Net games on the Steam Deck. Battle.Net is not officially supported on the Steam Deck, but there are workarounds. Here are a few steps:
Switch To Desktop Mode
The first step is to switch to Desktop Mode on your Steam Deck. You can do this by going through the following steps:
- Press Start Button (Bottom left)
- Click on Power Button
- Choose “Switch to Desktop” option
Once you are in Desktop mode, you can undertake steps to ensure you can use Battle.Net launcher on your PC. Firstly, you will need to open a browser window (Maybe Google Chrome?) on your PC. Once you click open the Browser you enter this URL – https://download.battle.net/?product=bnetdesk – in the bar.
Once you open the web page, the client will automatically download the Battle.net launcher. This URL is the official battle.net launcher link, so you should not worry about its authenticity. Alternatively, you can also search for the Battle.net launcher download link and follow through with the official website link.
How to Add Battle.net Launcher to Steam Library
After you download the Battle.net launcher, you will need to add it to your Steam Library. To do so, go through the following steps:
- Open Steam Desktop Client
- Click on Add a Game (Bottom right corner)
- Click Add a Non-Steam Game
- Click on Browse in the Pop-Up that appears
- Choose the folder where the battle.net launcher is located.
- Select the Battle.net Launcher and then choose Open
- Click “Add selected programs”
Going through the above steps will ensure that the Battle.net launcher is added to your device. This sets you up for the next step that is to ensure that you can actually play games on Battle.net on your Steam Deck.

Battle.net Steam Deck Compatibility Option
The next step is to ensure that the Battle.net launcher app is compatible with Steam Deck. Since the launcher is for desktop, it is important to ensure it works with Steam Deck.
To do this go through these steps:
- Open Steam on your Steam Deck.
- Search for Battle.net in your library (left side-bar).
- Right-Click on Battle.net launcher.
- Click on Properties.
- Go to Compatibility
- Make sure the “Force the use of a specific Steam Play Compatibility Tool” is Ticked
After all this, you are ready to Install battle.net launcher on the Steam Deck. Yes, all of these steps were to ensure that the Launcher, when downloaded, actually works on the Steam Deck.
This part is relatively easy. All you need to do is click on Play in the Battle.net launcher on the Steam Deck.
It will ask you to go through a series of steps that are relatively common with the installation of any app. Things like choose your preferred language, the Install Location, Selecting regions and more is what you need to decide as you install the Battle.net launcher on the Steam Deck.
After you go through these steps you will get the prompt to sign into Battle.net. Enter your Battle.net ID and password and you can log in to your Battle.net account.

Change the Target location for Battle.net on Steam
Remember back when you selected the launcher as the target location for Battle.net on your Steam. Well, it’s still pointing to the same launcher. Which means that it will launch the launcher installation file everytime you click on Battle.net. Thankfully, we can fix that, and here’s how.
- Single-Click on Battle.net Setup.exe in Steam
- On the right top corner of the Page, you will see a settings icon (wheel)
- Click that and then go to Properties
- Change the Shortcut’s Name to battle.net Launcher
- Then click on Browse next to the Target
- This will open up the explorer
- Click on Settings
- Make sure “Show Hidden Files” option is selected
- Browse through to open the ‘local’ file directory
- Go to the folder named Steam
- Click on steamapps
- Open compatdata
- Sort by Date to ensure we get the latest file
- Choose the file that was last modified (should be first in the list if you sorted it in descending order)
- Click on pfx directory and then Drive C
- Open Program Files
- Choose Battle.net Launcher.exe. (it should be an .exe file)
- Click Open and then Add it to Steam
And that’s it. That’s all you need to do to play Battle.net games on the Steam Deck. The Steam Deck’s portability makes it one of the most exciting devices to own for a gamer. Hopefully, this guide helps you with setting up a Battle.net games on Steam Deck. You can enjoy various titles on the Steam Deck on the go.
Stay tuned to esports.gg for the latest tech news and updates.