
Have you ever thought of the idea of developing your own Roblox game?
Here’s a basic tutorial that will give you a rundown of everything on how to make a game on Roblox as a beginner.
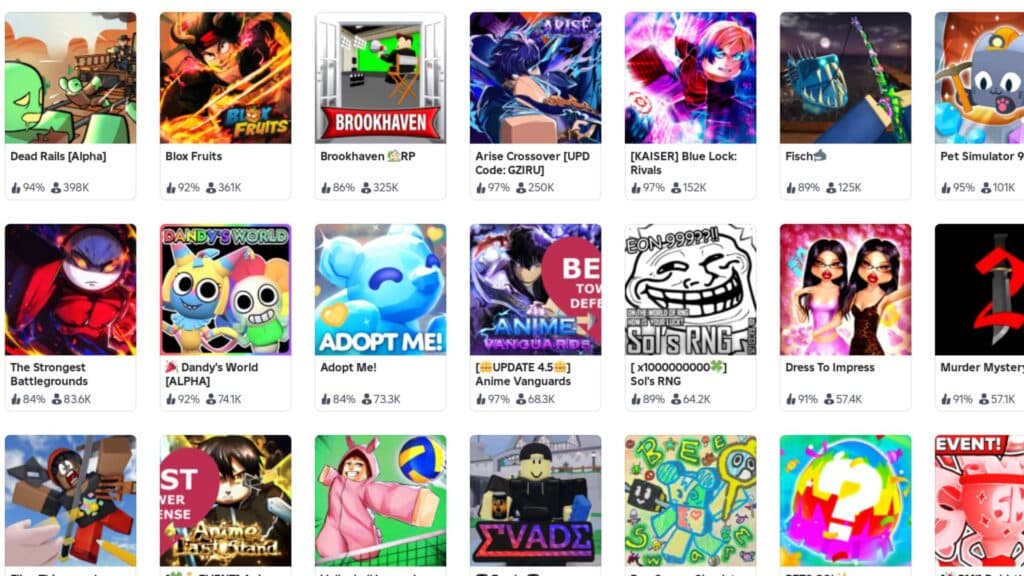
So, you finally decided to learn the art of making a Roblox game. If you don’t have any prior experience in game development, Roblox is definitely one of the best places to hone your game-creating skills.
Apart from being a popular platform for gamers of all ages, Roblox also encourages its users to express their creativity through the Roblox Studio, a free building tool for creating games or experiences.
For this post, we’ll show you how you can start designing an experience on Roblox, from opening a new experience and navigating the Roblox Studio interface to publishing your game to the Roblox platform.
Important reminders before creating a Roblox game
Before anything else, keep in mind that to make a Roblox game, you should have a rough idea of the game you want to create. Mastering all the tools on Roblox Studio can be challenging if you don’t have a clear purpose for learning game development in the first place.
For starters, you should have answers to the following questions:
- What game genre are you making?
- What mechanics does your game have?
- What type of world will your game feature?
- Does your game have any lore/background story?
With these questions, you can set a list of goals that you need to achieve once you finally grasp all the fundamental tools for developing a Roblox game.
Additionally, you can become a Roblox game creator for free; all you need to make a game is to have a Roblox account and download the Roblox Studio.
Now, on to the basics of Roblox Studio!

How to make a game on Roblox through the Studio platform
Open the Roblox Studio platform on your computer and do the following steps:
Step 1: Click on New Experience

New Experience lets you make a Roblox game from scratch. Alternatively, if you want to start with a template, you can scroll down and see the list of available templates on the Roblox Studio home.
Using a template will give you access to a sample experience with default assets and obbies.
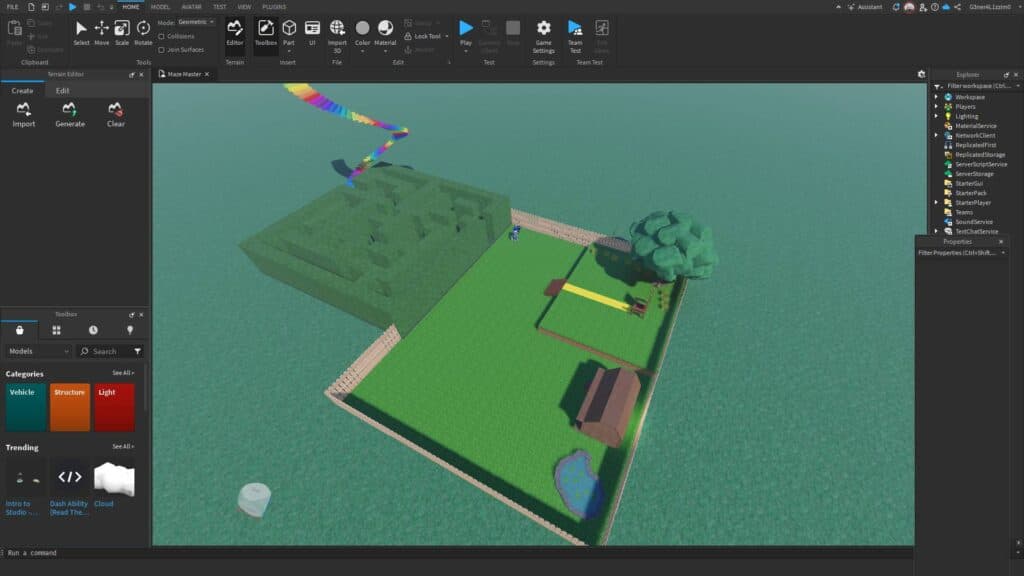
Step 2: Learn to use the Explorer feature

On the right side of the Roblox Studio interface is a list of features called the Explorer tab. Here, you can edit the majority of the stuff in the game, such as objects, terrain, spawn location, and your baseplate.
Each feature or option in the Explorer tab can be customized by tweaking its settings in the Properties tab, which can also be found in the same spot as the Explorer tab.
The square block that you can see on your game right now is the Spawn Location (the spot where players will appear once they start the game), and the Baseplate is basically the floor or the surface of your world.
Step 3: Create your game’s terrain using the Baseplate and Toolbox options

You can move your camera and explore more of your game's terrain using the W, A, S, and D keys, with Q and E to adjust your view up and down. You can zoom in and out using your mouse's scroll wheel.
Use the Toolbox tab to search for any asset that you want to add to your world. For instance, you can design a grassy plain by changing your Baseplate’s color to green and material to grass. To achieve a more realistic grassy terrain, you can type “grass” in the Toolbox tab’s search bar for grass assets.
Step 4: Add more objects and position them as you like

The Toolbox tab is a handy tool for adding almost everything that you want to have in your game. To position them correctly, use the Move, Scale, and Rotate options on the upper side corner of the Roblox Studio interface.
Apart from objects like trees, roads, or structures, you can also spawn NPCs using the Toolbox tab.
Tip: Some assets may fall down or not function properly if you don’t click the Anchor option. Make sure to anchor your assets so they keep their position as always!
Step 5: Add more obbies and customize your world to your heart’s content
Depending on your desired game genre, you might want to produce more obbies or obstacles for your players to pass through. If you’re opting for an open-world RPG or a shooting game, you can focus more on building your terrain with buildings and NPCs instead.
Step 6: Create your game’s mechanics or control NPC behavior through scripts

Scripts are text that manipulate your game’s system, allowing you to customize what will happen to your players if they interact with anything in your game.
Scripting can have a steep learning curve for beginners, and it’s going to be a broad topic to discuss, so we highly recommend following through this playlist created by BrawlDev.
Step 7: Test your game by hitting Play

Under the Test option, click the Play button to make your Avatar spawn inside your newly created world. This is where you can check if all assets are working properly or if they’re positioned in the right places.
Step 8: Save or publish your game

Once your game is ready, you can either save it as an ongoing project and make further tweaks later or publish it immediately for the public. Click File, then choose Save to Roblox or Publish to Roblox.
While saving or publishing your game, Roblox Studio will require you to provide some basic information about your game, such as its name, description, available devices, and more.
Click Save (for saving your game) or Create (for publishing your game), and there you go, you just created your first Roblox game!
You can customize your game by opening it from the My Recent Experiences list on your Roblox Studio. Moreover, you can click the three dots in your game and click Configure Experience to add other stuff like your game thumbnail and game passes.

Stay tuned to esports.gg for more guides and tips on mastering Roblox game development, gameplay strategies, and more.